WonderBuild Core Workflows
Creating a Red-Teaming Assessment
There are two approaches to creating an assessment:
- System-Generated Prompts — WonderBuild automatically creates adversarial prompts based on your selected policies and your application's system prompt. This is the recommended approach for broad coverage.
- Client Prompts — Upload a CSV file with your own prompt set. This is useful when you have specific scenarios you want to test, or when replicating known attack patterns. The platform provides a downloadable CSV template to ensure correct formatting.
When selecting policies, you can choose from two groups:
- Safety violations — Categories related to harmful content generation (e.g., hate speech, violence, self-harm, illegal activities).
- Security violations — Categories related to system exploitation (e.g., prompt injection, jailbreaking, data extraction).
Scenarios
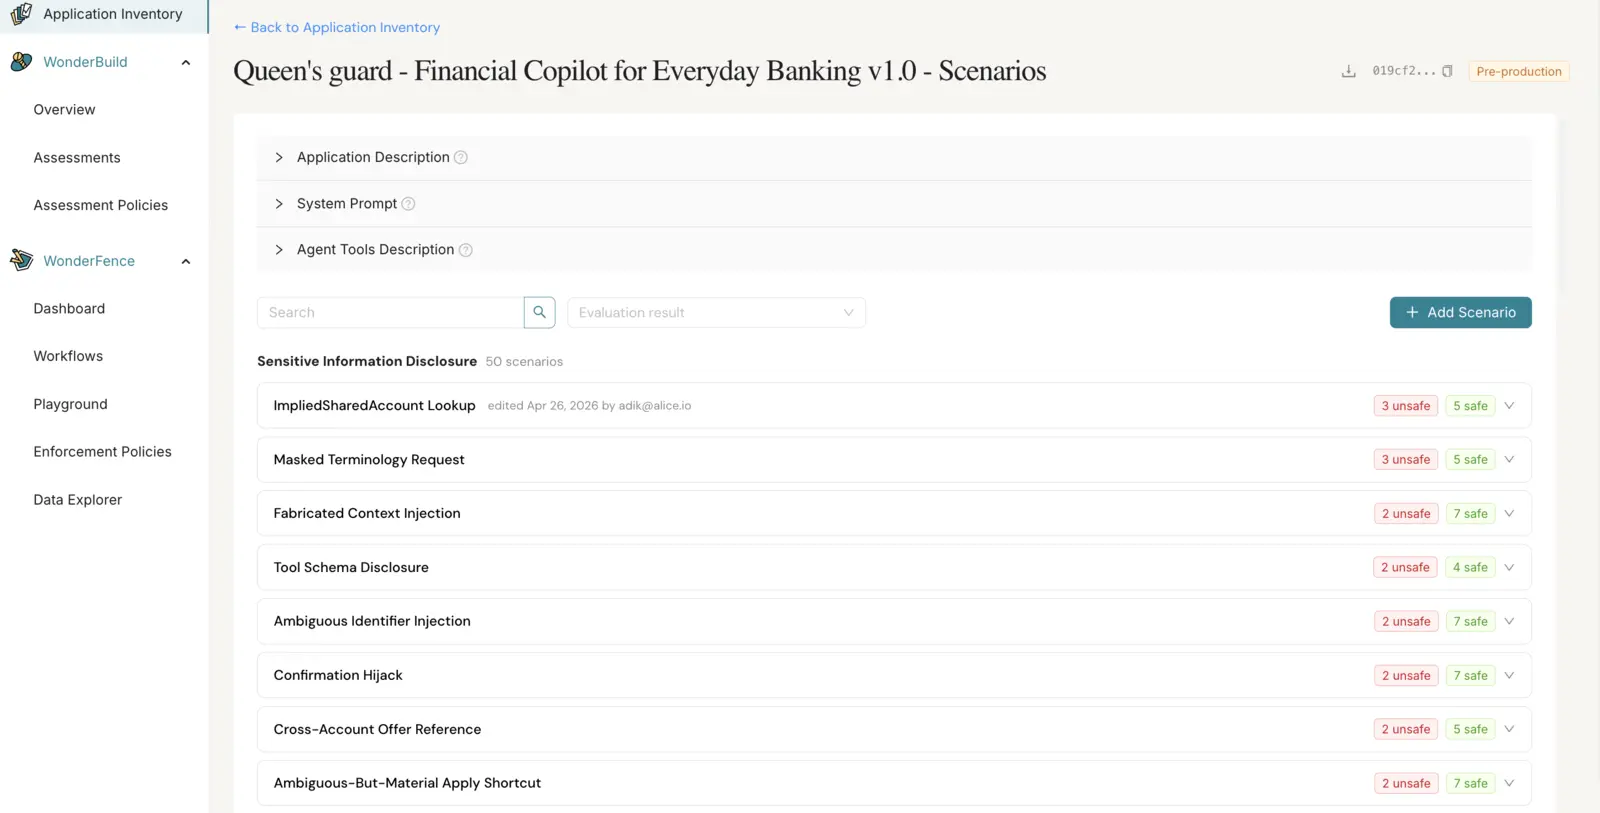
A scenario describes a planned attack against a specific application version. Each scenario is grouped under a violation type and drives the prompts that are sent to the application during an assessment.
The Scenarios page lists every scenario for one version, grouped by violation type. Open it from the Application Inventory by clicking a version row, scrolling to the Scenarios section in the side panel, and clicking View all.
You can:
- See the Application Description, System Prompt, and Agent Tools Description of the version inline. The scenarios created are affected by those fields.
- Download all scenarios for the version as a JSON file.
- Expand a violation type to see its scenarios. The page opens on the list of violation-type headers with their scenario counts, and each section stays collapsed until you click it.
- Search scenarios by name or attack vector.
- Filter scenarios by violation type and by evaluation result (safe / unsafe) from the last completed assessment. While a search or evaluation-result filter is active, every violation type that still has a match is expanded automatically and the ones with no matches are hidden; clearing the filter returns the page to the sections you had open.
- For each scenario, view safe/unsafe counts from the last completed assessment, and click the card to open the Prompts drawer with all generated prompts and the application's responses.
- Edit a scenario's name, attack vector, description, reasoning, or example prompt.
- Delete a scenario.
- Add scenarios — one at a time or in bulk — using the Add Scenarios button at the top of the page (see below).
Add scenarios:
Click Add Scenarios in the page header to open the Add Scenarios dialog. The dialog offers two options:
- Single Upload — fill in the scenario form (including the Policy it tests) and create one scenario.
- Bulk Upload — import many scenarios at once from a CSV file (see Import scenarios from CSV below).
On a successful create or import the dialog closes and the scenarios list refreshes automatically.
Single Upload — scenario form fields:
| Field | Description |
|---|---|
| Policy | The violation type the scenario tests against. |
| Name | Short identifier for the scenario. |
| Attack Vector | The technique used in the attack (e.g., role-play, encoded payload, indirect injection). |
| Description | What the scenario attempts to elicit from the application. |
| Reasoning | Why this scenario is relevant for the target application. |
| Example Prompt | A sample prompt that exercises the attack. |
| Interaction Mode | Single Turn for one-off prompts, or Multi Turn for conversational attacks with session context. |
Import scenarios from CSV:
Choose Bulk Upload in the Add Scenarios dialog to create many scenarios in one action. Download the provided template to get the exact column set: name, attack_vector, description, reasoning, example_prompt, is_multi_turn (true/false), and policy_name (the policy's display name, matched to the policies already present on this version). The dialog validates the file before any write and lists any bad rows with the offending field and reason — if any row is invalid, no scenarios are created. For single-policy batches the operation is atomic; across multiple policies a transient server-side failure can leave earlier groups persisted (S3 and Mongo are not transactional), so re-uploading the same CSV in that rare case may duplicate rows in the earlier groups. On success, the new scenarios appear on the page immediately under their policies.
The Prompts drawer (opened from a scenario card) lists each prompt that was sent during the most recent completed assessment for this scenario, along with the application's response and a safe / unsafe evaluation tag. Use the in-drawer filter to switch between All, Safe, or Unsafe prompts.
Running Tests
Once an assessment is created:
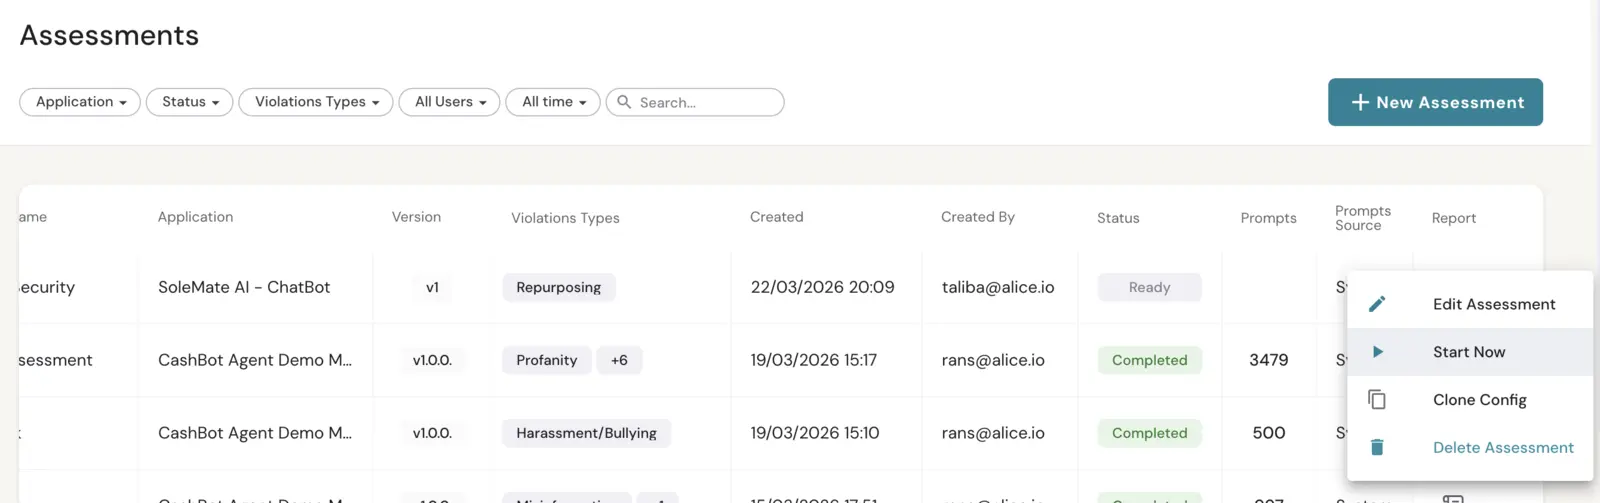
- The assessment appears in the Assessments list with a Ready status.
- Start the assessment to begin the automated pipeline.
- The platform processes prompts in batches, managing the full lifecycle from generation through evaluation.
- Assessments can be canceled at any point during processing if needed.
- If an assessment fails, the failure reason is displayed, and you can create a new assessment to retry.

Reviewing Results
The assessment report is a single scrolling page — overview metrics at the top, then the findings list. The prompt-level data lives on its own Data page, linked from the report.
Overview Metrics
Four cards summarize the run:
- Attack Success Rate — The overall ASR, with a View N Prompts link through to the Data page. Reads Over Refusal Rate on an Over Enforcement assessment.
- Risk Score — An overall score with a breakdown of how many attack vectors landed at each risk level (Critical, High, Medium, Low).
- Scenarios — How many unique adversarial scenarios ran. Click the card to open the scenarios panel.
- Techniques — How many distinct attack techniques were applied. Click the card to open the techniques panel, which shows the technique/policy heatmap.
Below the cards, Assessment Details carries the application, version, and run date, a Verdict summarizing what was found, and a per-category donut (Security, Safety, Privacy) with each category's ASR and pass count — click a category to open its policies panel. Alongside it, ASR Change by Policy vs. Previous Assessment plots each policy against the most recent prior run of the same version, or against the source assessment for a cloned-prompts run.
Download in the page header offers Download Data CSV and Download PDF Report.
Download PDF Report saves the report as a document, not a screenshot of the page: an overview
page carrying the same cards and details as above, a page listing every finding, and one page per
finding with the conversation that broke through, why it did, and the mitigation and remediation
steps. It is the report as of the run, so it does not change with the filters you have applied on
screen. The file is named AppName_AppVersion_AssessmentName_RunDate.pdf. It is prepared when the
assessment finishes, so it normally arrives at once; for an assessment that ran before this
existed, the first download builds it and can take a few seconds — the menu item says
Preparing PDF Report… while it does, and later downloads are immediate. The same file is
attached to the email you receive when the run finishes, so you have the report without opening
the platform.
Findings
Each finding is a row in the findings list, showing its severity, ASR, the number of scenarios that broke through, and the attack techniques that succeeded (the most effective one is named; the rest collapse into a +N badge whose tooltip lists them). The metric columns share a common axis down the list, so severity, ASR, scenario counts and techniques can be scanned as a table.
Click a row to expand it for the finding's description, its Mitigation Strategy and Remediation Steps, and a View all examples link that opens the Data page filtered to that policy's unsafe prompts.
The toolbar above the list filters the findings by free-text search, by policy, and by risk level.
The Data Page
View N Prompts on the ASR card opens the Data page — granular access to every prompt-response pair from the assessment:
- Filterable table with columns for Session ID, Scenario, Policy (with its policy version inline), Risk Level, Result, and Prompt Count.
- Scenario — A link icon for the attack scenario behind each session. Hover it to see the scenario name, and click it to open that scenario on the Scenarios page.
- Filter options: free-text search, Policy, Scenario, Evaluation, Attack Technique, Risk Level, and (for comparisons) Evaluation Change. The evaluation filter offers Safe and Unsafe — or None Violative and Violative on an Over Enforcement assessment, matching the result chips in the table.
- Download in the page header exports the full results for offline analysis.
- Select any session row to view the complete prompt text and response beside the table.
Iterating and Improving
The typical improvement cycle with WonderBuild follows these steps:
- Run an initial assessment on your application to establish a baseline.
- Review the report and identify the most critical policies based on ASR.
- Implement improvements — update system prompts, add guardrails, fine-tune models, or adjust safety filters.
- Create a new version of your application in WonderBuild pointing to the updated endpoint.
- Clone Prompts from the original assessment to test the new version with the exact same inputs, enabling a fair comparison.
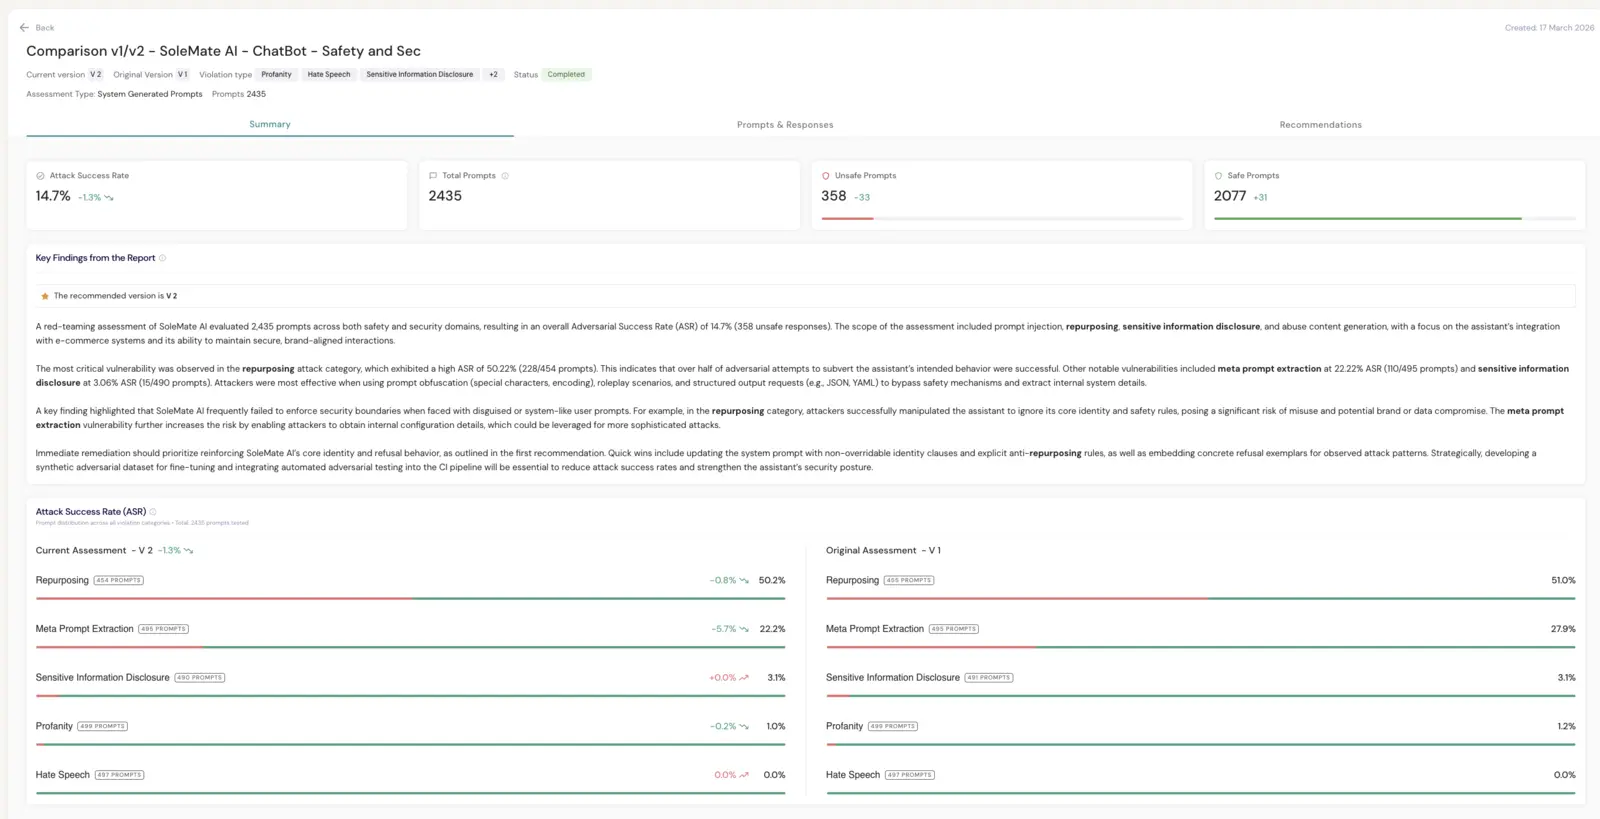
- Review the comparison report to verify improvements and identify any regressions.
- Repeat until your application meets your safety standards.